

DIY Virtual Room Makeover Tips: Budget-Friendly Previews
The biggest home design mistake isn't buying pricey materials, but the wrong ones. Pre-visualization offers crucial DIY virtual room makeover tips budget homeowners can use to save up to 30% on costly errors and rework.
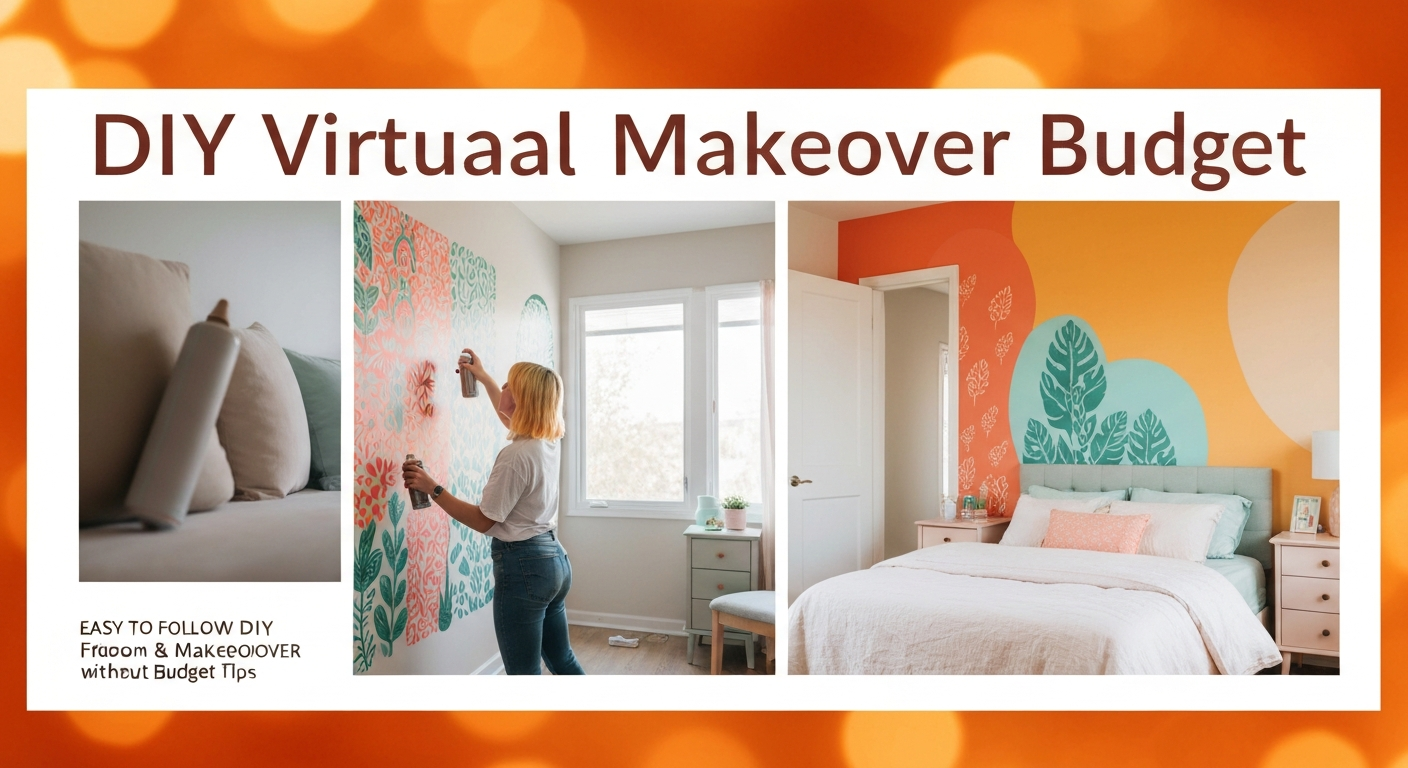
Why Should You Visualize Your Room Makeover Before Spending a Dime?
Why Visualize Your Room Makeover Before Spending a Dime?
The most expensive mistake in home design isn't buying pricey materials; it's buying the wrong ones. For any Canadian homeowner looking for DIY virtual room makeover tips budget, pre-visualization is the ultimate cost-saver, not an optional extra. Industry data shows that visualizing a space before renovation can reduce costly errors and rework by up to 30%, directly saving significant budget on materials and labour. Considering the average homeowner spends roughly $8,000 annually on improvements, ensuring every dollar counts from the outset is critical.
Most of us struggle to truly imagine how a new paint colour will look in our living room or if that sofa will overwhelm a condo space. Virtual visualization lets you "try before you buy," eliminating the anxiety of committing to design changes. It tackles common pitfalls like misjudging scale and colour, which often lead to frustrating returns or living with a design you don't love. Over 60% of consumers now use online tools for home design inspiration and planning, highlighting how essential digital previews have become for confident decision-making.
By investing a little time in virtual planning, you empower yourself to make confident choices without financial risk. This vital first step ensures that when you move to actual purchases and physical changes, you're building on a solid, pre-approved vision, ready to explore how accessible, free tools can bring that vision to life.
Free & Budget-Friendly Virtual Room Makeover Tools & DIY Techniques
Free & Budget-Friendly Virtual Room Makeover Tools & DIY Techniques
Achieving a professional-looking room preview doesn't demand expensive software or a design degree. In fact, some of the most practical and effective virtual makeovers come from creatively using everyday tech and genuinely free tools, allowing anyone to tackle a DIY virtual room makeover tips budget. These accessible options address the common pain point of visualizing changes without committing money or effort upfront. Many homeowners, especially in mid-sized Canadian urban centres, are surprised to find how powerful basic tools can be.| Tool Category | Key Feature | Best Use Case | Cost |
|---|---|---|---|
| Basic Photo Editors | Layering, colour replacement, object cutouts | 'Painting' walls, placing furniture cutouts on an existing photo | Free (GIMP, Pixlr Editor, Canva Free) |
| Digital Mood Boards | Image aggregation, visual theme development | Gathering inspiration, defining colour palettes and styles | Free (Pinterest, Google Slides, Milanote) |
| Simple 3D Planners | Basic room layouts, furniture arrangement | Testing different furniture placements and flow | Free tier (Roomstyler, Planner 5D) |
| Augmented Reality (AR) Apps | Virtual placement of real products in your space | Visualizing specific furniture or decor items before buying | Free (IKEA Place, manufacturer visualizers) |
"Seeing that emerald green paint on my living room wall *before* I bought five gallons saved me a weekend of regret and a trip back to the hardware store." — homeowner, CalgaryManufacturer websites often host their own visualizer tools, letting you upload a photo of your actual space and preview how their paint colours, flooring, or tile patterns would look. This direct product visualization is invaluable for making confident purchasing decisions and avoiding costly errors, a common problem for Canadian homeowners planning renovations.
Step-by-Step: Planning Your DIY Virtual Room Makeover on a Shoestring Budget
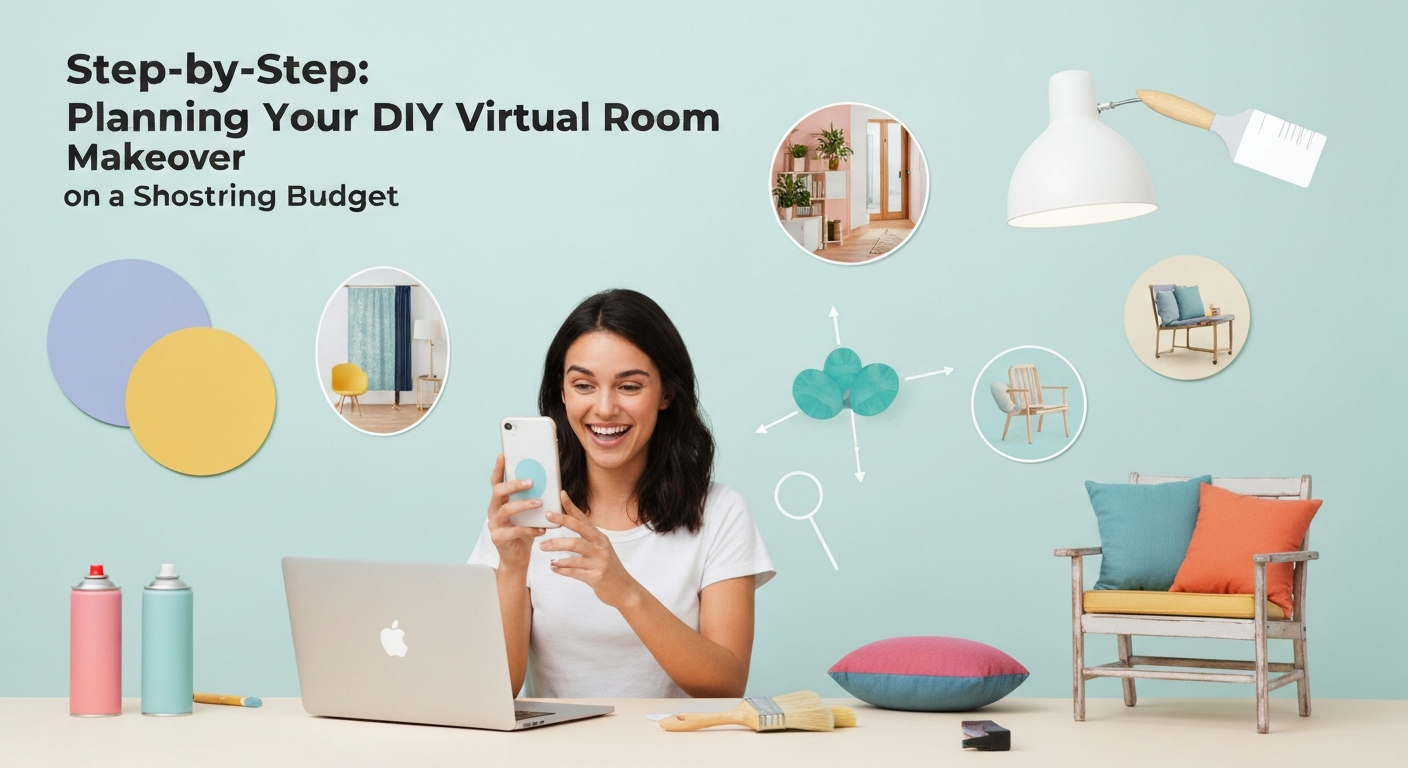
Capture Your Current Space
Take well-lit, straight-on photos. From each corner, capture full walls, windows, built-ins. Four to six photos ensure key features are visible.
Define Your Vision
Gather inspiration from free online: Pinterest or design blogs. Pin images of colours, furniture styles, vibes. Clarify your aesthetic.
Choose Your Free Tool
Use phone photo editors, free online editors (e.g., Canva), or presentation software. Some retailers offer basic free room planners.
Experiment with Elements
Overlay digital paint swatches onto photos. Crop and position furniture images virtually. See how new items fit or if a bolder accent colour works.
Iterate and Refine
Create multiple design versions. Try different arrangements, rug patterns, or lighting. Comparing options side-by-side identifies the best layout.
Get Feedback
Share virtual designs with trusted friends or family. Fresh eyes can spot missed details or offer new perspectives on colour choices.
"I used to just guess with paint colours, always buying samples that ended up wrong. Now, I use a photo editor to 'paint' my walls virtually, saving me so much time and money." — Homeowner, CalgaryFollowing these DIY virtual room makeover tips budget steps transforms everyday tech into a powerful design assistant. Make informed decisions, visualize changes confidently, and save money by avoiding costly real-world mistakes.
Virtual Home Staging Tips for Renters: Visualize Temporary Changes
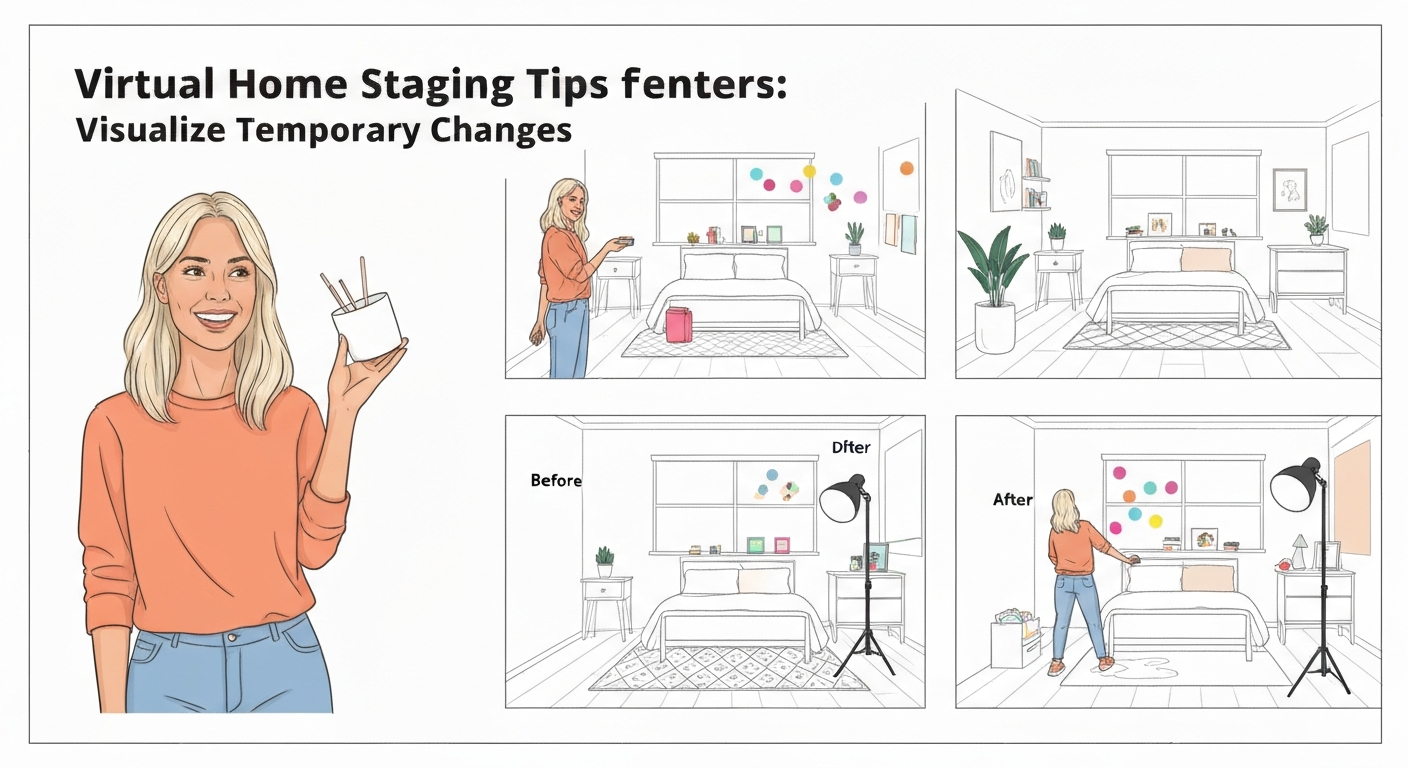
Virtual Home Staging Tips for Renters: Visualize Temporary Changes
Renters often feel limited by lease agreements and the fear of damaging a property, assuming significant makeovers are off-limits. However, virtual tools offer a surprising advantage: they allow you to experiment with temporary, non-damaging design changes, transforming a rented space without violating your lease or draining your budget. This approach helps you visualize creative workarounds, turning a generic apartment into a personalized home.Benefits for Renters
- Preview peel-and-stick wallpaper or removable murals on your walls without any commitment.
- Experiment with furniture layouts for optimal flow in a small condo living room in Vancouver.
- Test different curtain styles, rug colours, and textile swaps to define zones or add personality.
- Visualize gallery walls using Command strips, ensuring perfect placement before even picking up a frame.
Risks of Not Visualizing
- Purchasing a large, non-returnable area rug that clashes with existing flooring or wall colour.
- Investing in temporary lighting fixtures that don't fit the room's scale or overall aesthetic.
- Wasting money on items like temporary vinyl flooring that looks inexpensive in your actual space.
- Risking lease violations by inadvertently planning for permanent changes that could incur fines.
Translating Your Virtual Vision to Reality & Maximizing Your Budget
Your finalized virtual room design is more than just a pretty picture; it's your most powerful budget-saving tool. By meticulously planning every detail – from wall colour to furniture placement – you create a precise shopping list that eliminates impulse buys and costly mistakes. This upfront visualization, perhaps using a tool like iDecorAI or even a simple photo editor, means you know exactly what you need before you spend a single dollar, helping you stick to your DIY virtual room makeover tips budget. With the global interior design software market projected to grow, industry data increasingly shows that visualizing a space before renovation can reduce costly errors by up to 30%, directly translating to real savings.
Prioritize your spending by investing in foundational pieces that will last, such as a quality sofa for your living room or a sturdy bed frame for the primary bedroom. For accessories and smaller decor items, look to thrifting, upcycling, or simple DIY projects. A fresh coat of paint, for instance, can transform an old dresser, while building simple floating shelves can save significant labour costs compared to hiring a carpenter. Shopping sales, comparing prices across Canadian retailers like Structube or EQ3, and exploring second-hand markets like Facebook Marketplace or Kijiji can often net you furniture and decor at 50% or less of retail price.
Embracing these strategies ensures your virtual vision translates into a stylish, affordable reality for your home, whether it's a downtown condo or a suburban semi. The next step is to consider how to prepare your space for these exciting changes, ensuring a smooth transition from screen to room.
Common DIY Virtual Design Mistakes to Avoid (And How to Fix Them)
Many aspiring designers, especially those working with a DIY virtual room makeover tips budget, often stumble into common pitfalls that can derail their vision. The good news is these errors are avoidable with a bit of foresight, transforming potential frustrations into successful design previews.
One frequent misstep involves ignoring scale and proportion. It's easy to virtually drag a grand sectional sofa into a small Vancouver condo living room, only to realize it would physically block the balcony door. Industry data shows misjudging scale is a top decorating mistake, leading to real-world disappointment. Always measure your actual space, including doorways and hallways, and compare those numbers to the exact dimensions of furniture you're considering, like a specific IKEA sofa model.
"I once saw a virtual design where the bed was so big, you couldn't open the closet door. It looked great on screen, but would have been a nightmare in real life." — Interior Design Student, OCAD University
Another common oversight is neglecting existing elements. Forgetting to include radiators, built-in shelving, or the swing of a bedroom door in your virtual plan creates an unrealistic preview. Start by accurately mapping your room's unchangeable features. Similarly, lighting is often an afterthought. A paint colour that looks vibrant in a brightly lit virtual rendering might appear dull in a north-facing den in Halifax. Consider how natural light shifts throughout the day and where artificial fixtures will cast shadows.
The sheer volume of choices can also be paralyzing. Tools like iDecorAI, Pinterest, or even simple photo editors offer endless possibilities. Combat this by focusing on one key area, perhaps a feature wall or a seating arrangement, before expanding your design. Finally, not saving iterations means losing valuable ideas. Save multiple versions of your virtual room as you experiment, allowing you to easily compare a bold accent wall against a neutral palette, ensuring your budget-friendly preview truly reflects your evolving taste.
Frequently Asked Questions
Why visualize a room makeover before buying anything?
Visualizing a room makeover virtually prevents expensive missteps and saves time. You can experiment with paint colours, furniture arrangements, and decor items in a digital space before committing to purchases. This process helps confirm design choices, ensures new pieces fit your specific room dimensions—crucial for small Toronto condos or older semi-detached homes—and allows you to refine your aesthetic vision, avoiding buyer's remorse and costly returns. It's a smart dry run for any home improvement project.
How can I do a virtual room makeover for free or cheap?
Free options include using basic photo editing software to layer images of furniture onto your room photos, or sketching layouts on graph paper. Many online furniture retailers offer simple room planners on their websites. For a small fee, tools like iDecorAI or RoomSketcher provide more advanced 3D rendering and furniture libraries, allowing you to upload your room's dimensions and visualize changes with greater accuracy. Look for free trials to test out paid platforms.
Can renters use virtual tools to plan temporary room changes?
Absolutely. Virtual tools are ideal for renters planning temporary changes, as they allow experimentation without permanent alterations. You can visualize removable wallpaper, furniture rearrangements, peel-and-stick flooring, or new textile colours. This helps ensure temporary solutions like a new rug or a gallery wall with command strips complement the existing space and can be easily reversed when moving, protecting your damage deposit in a Vancouver apartment.
What are common mistakes to avoid in DIY virtual room design?
A common mistake is neglecting accurate room measurements; virtual designs are only as good as the data input. Another error is ignoring natural light sources, which significantly impact how colours appear. Don't overcrowd the virtual space with too much furniture, or forget to consider traffic flow. Also, avoid designing in a vacuum; ensure your virtual room connects aesthetically with adjacent spaces in your Canadian home for a cohesive feel.
How do I translate a virtual room design into a real makeover on a budget?
Start by creating a detailed shopping list from your virtual design, prioritizing essential items. Look for budget-friendly alternatives like second-hand furniture from local Kijiji listings, DIY projects for decor, or paint sales. Focus on one area at a time, such as repainting or rearranging existing furniture first. Use your virtual plan as a guide for colour palettes and overall style, adapting it with affordable finds to achieve a similar look.
Frequently Asked Questions
Why visualize a room makeover before buying anything?
How can I do a virtual room makeover for free or cheap?
Can renters use virtual tools to plan temporary room changes?
What are common mistakes to avoid in DIY virtual room design?
How do I translate a virtual room design into a real makeover on a budget?
Keep reading
All articles →
Visualize Your Dream Home: Zillow AI's Reality Check & How to Master It
Zillow's new AI tool goes beyond staging, democratizing the 'designer's eye' for house hunters. It allows you to test personal style against a property's bones, fundamentally shifting how you visualize your dream home.

Real-World Test: We Tried 13 AI Interior Design Tools So You Don't Have To (Here Are Our Top 3 Picks!)
The sheer volume of new AI interior design tools often complicates the design process for homeowners. Our Real-World Test of 13 platforms reveals which truly deliver actionable, budget-friendly plans.
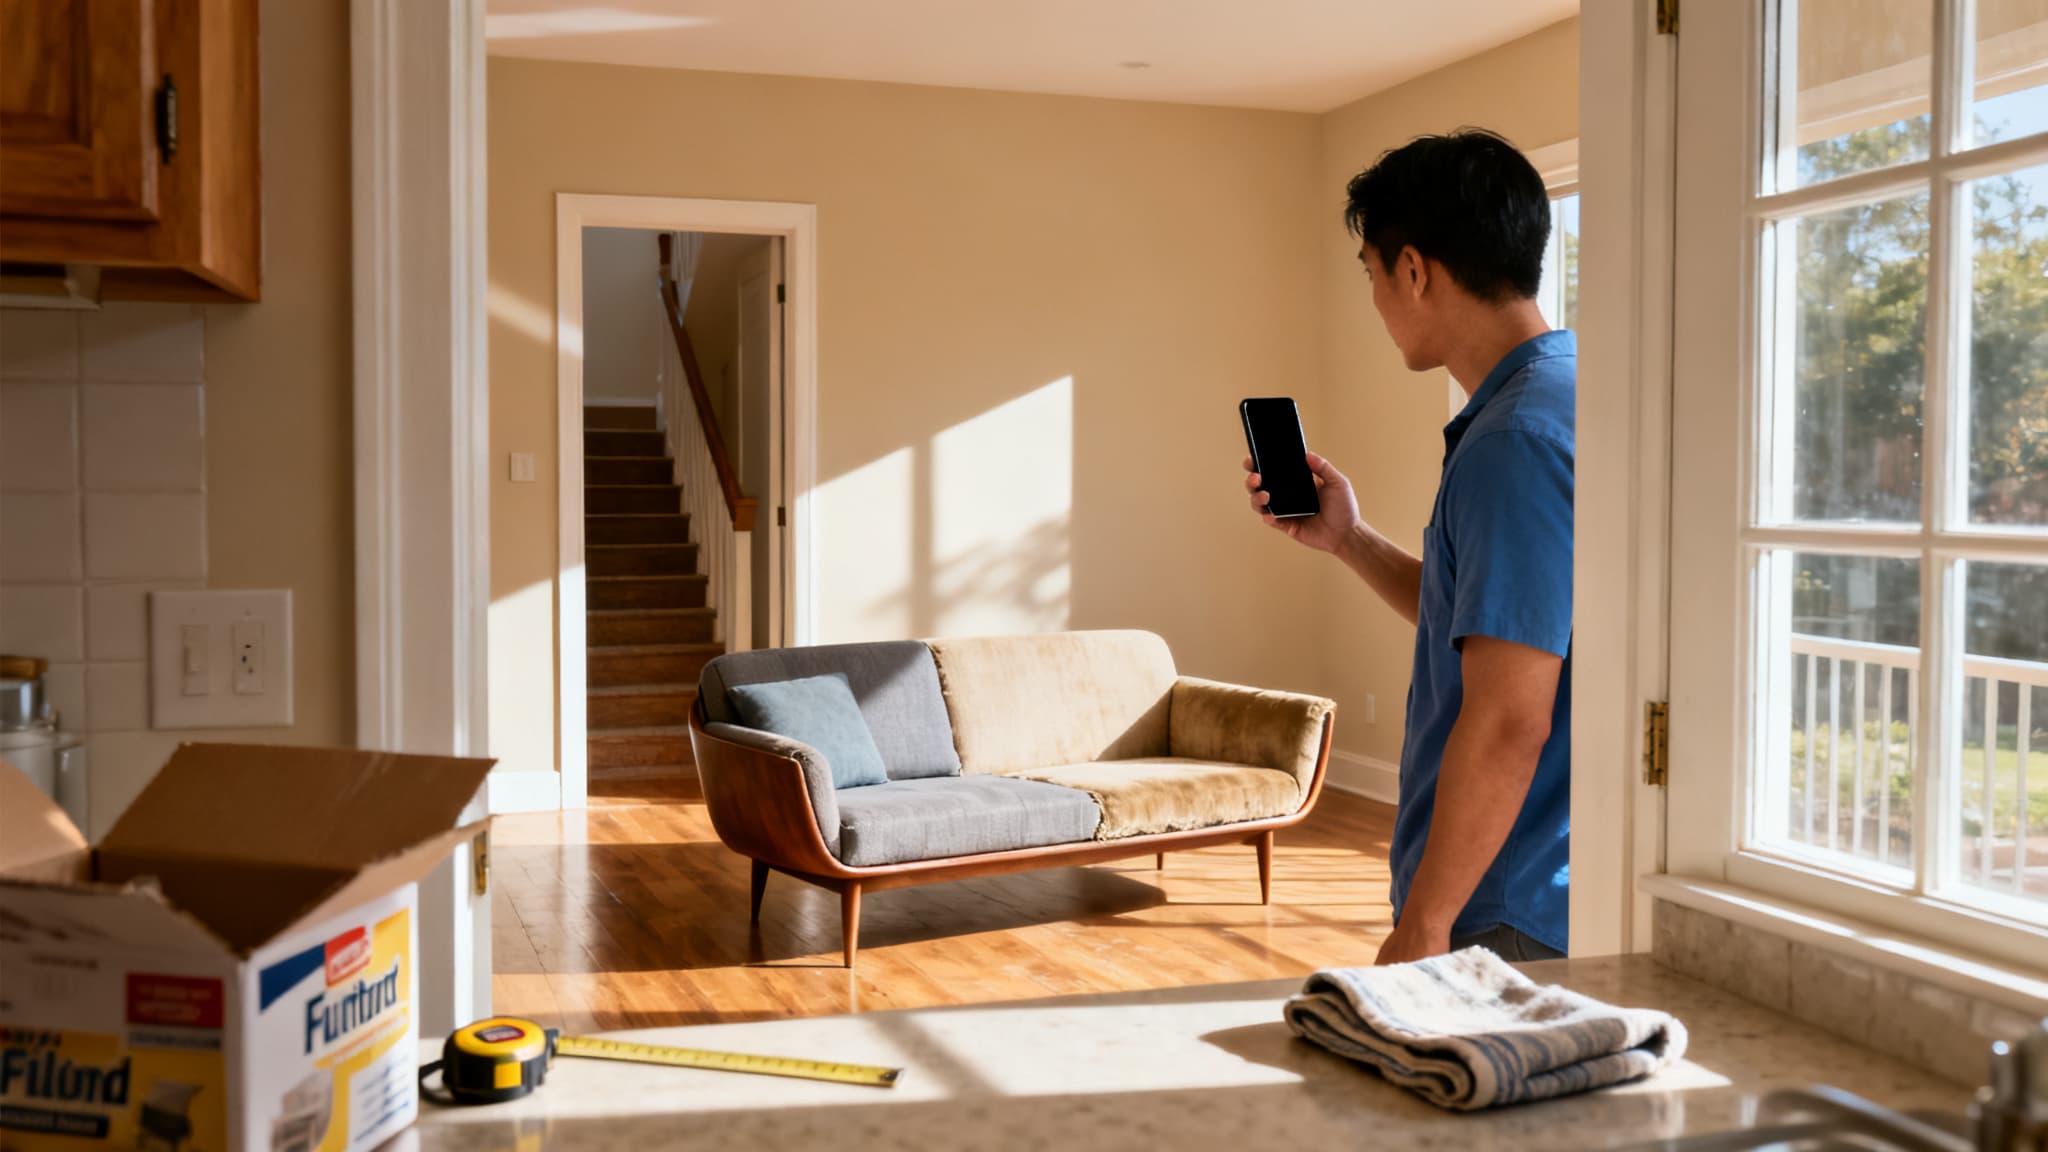
Dream Home on a Budget & Timeline: AI for Faster, Affordable Redesigns
While many assume a personalized dream home requires a hefty budget, AI tools are fundamentally shifting this reality, acting as a personal project manager for your entire redesign. They provide a step-by-step blueprint that optimizes every phase, making your dream home a tangible goal.